
The Ease tool
Sniper's Ease tool lets you read, draw and rewrite the curves of any animation on your timeline. Sniper reads the selected clip and lists each property that has keyframes. When you select a property, the Ease draws the animations it found in two distinct curves: Value and Speed. From there you edit the ease the way you think is best, create a bounce or an overshoot with total control of each movement, or simply use one of the many ease presets that the tool already has.
To open it, select a clip and click on the fixed bar.
The whole tool works in one simple cycle:
- Select a clip on the timeline that has keyframes and click .
- Click the property you want to work on.
- Edit the curve, with the sliders or with a preset.
- Click Apply. Sniper writes the new keyframes on the timeline and reads the clip again.
Nothing changes on your timeline until you click Apply, so you can experiment as much as you want. And the Apply belongs to each property: it writes only the property that is open.
The property list
When you open the Ease, you see a list of all the properties of the clip that have more than 1 keyframe, grouped by effect: first the effects that you added, in the order they are on the clip, and last the Motion and the Opacity, the default of every clip.
If the video clip is linked to an audio, the audio enters the same list: Volume, Channel Volume, Panner and audio effects appear right below the properties of the video, and you edit the movement and the sound side by side.
If you change the clip in Premiere, Reload reads it again.
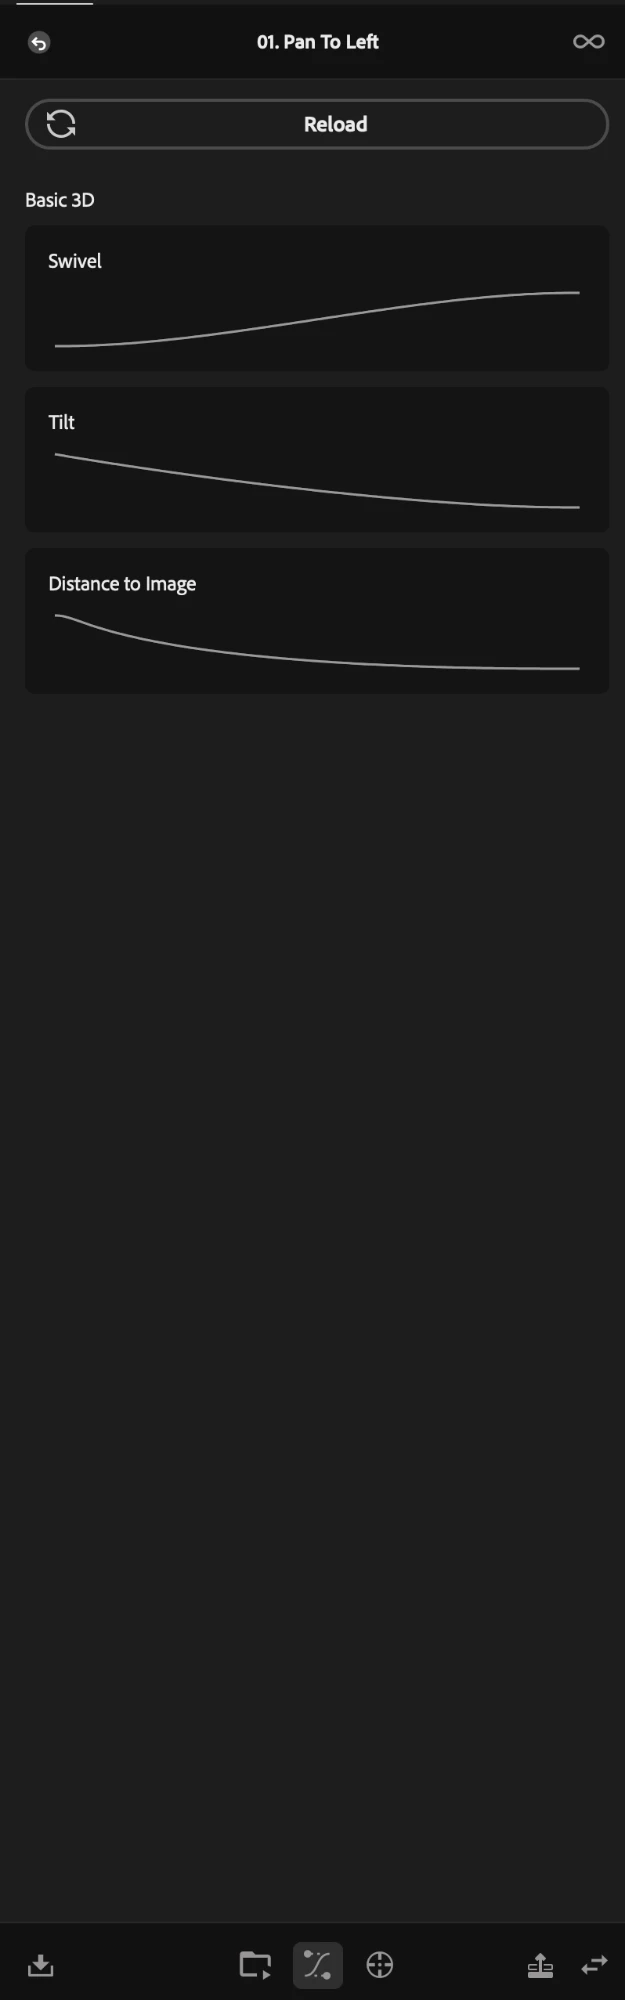
Each property is a card with a small drawing of its curve, so you can recognize the animation before opening it. A property marked as read only has too many keyframes to be edited, and one marked as looping has a loop applied.
A property open
When you click a property, it opens with everything you need to work on its curve.
1 The ruler
Where the keyframes of the property sit on the clip, and tools to help move them along. See The ruler to learn more.
2 Value
The curve that the animation makes over time. See Value and Speed to learn more.
3 Speed
The speed of that same movement. See Value and Speed to learn more.
4 The preview
A little ball that runs along the curve and shows the timing of the animation. See The preview to learn more.
5 The tools
- ← All Properties goes back to the list.
- The trash undoes what you have not applied, or cleans the unnecessary keyframes.
- The loop repeats the animation.
- Invert turns the whole animation around.
- Apply writes the curve to the timeline.
See Tools to learn more.
6 Manual and Presets
- Manual is for whoever wants control over every aspect of the animation.
- Presets holds the ready-made curves and the ones you saved.
See Ease presets to learn more.
7 Curve type
When you choose a manual curve you can also choose the type: Bezier, Overshoot or Bounce to start your animation.